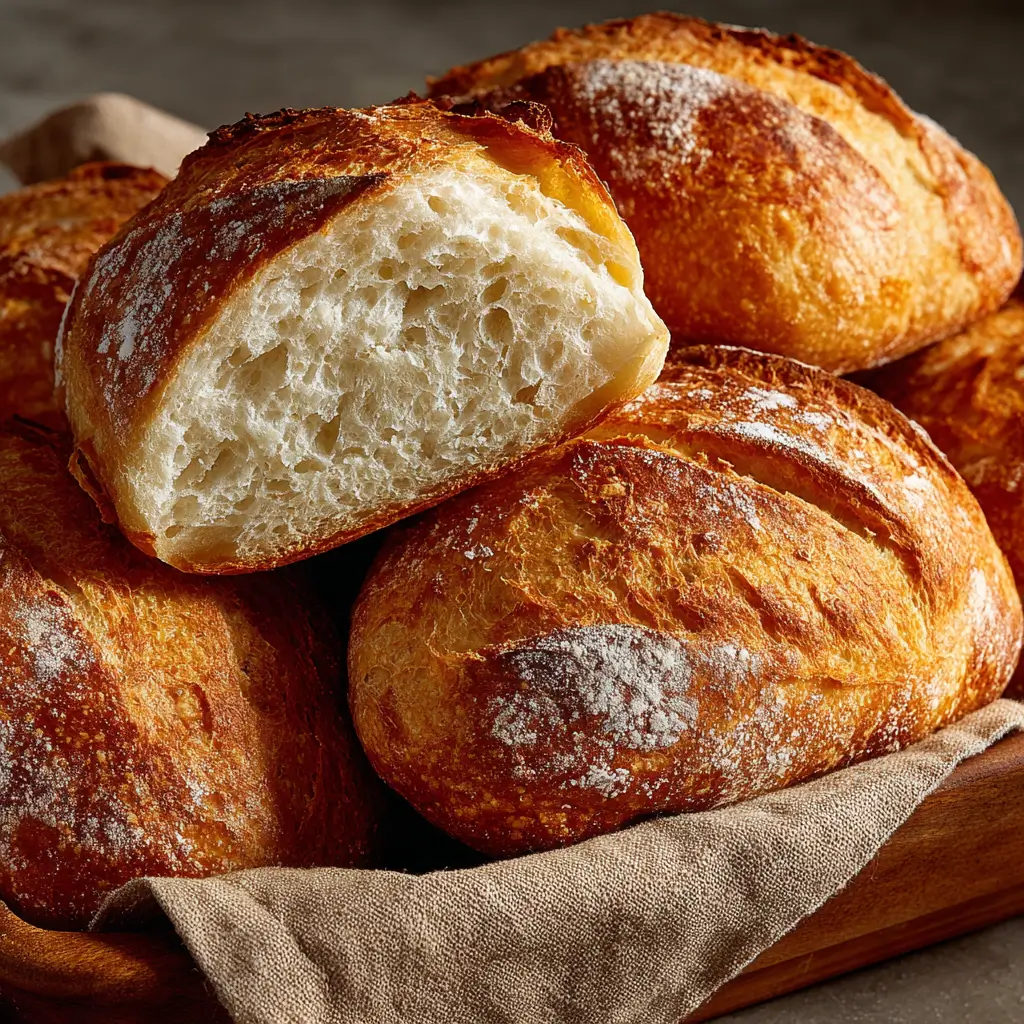
No-Oven Stovetop Bread – Easy and Delicious
No-Oven Stovetop Bread is a fantastic way to enjoy freshly baked bread without needing an oven. This simple recipe allows you to create soft, fluffy bread using just a stovetop. Perfect for beginners or anyone looking for a quick bread option!
Ingredients List
For the Bread:
- 2 cups all-purpose flour – The base for the bread.
- 1 tablespoon baking powder – For leavening.
- 1 teaspoon salt – Enhances flavor.
- 1 tablespoon sugar (optional) – For a touch of sweetness.
- 3/4 cup milk – For moisture.
- 2 tablespoons olive oil (or melted butter) – Adds richness.
Timing
Making No-Oven Stovetop Bread is quick and easy! Here’s a breakdown of the timing:
- Preparation Time: 10 minutes
- Cooking Time: 20 minutes
- Total Time: 30 minutes
Step-by-Step Instructions
Step 1: Prepare the Dough
- Mix Dry Ingredients: In a large mixing bowl, combine the flour, baking powder, salt, and sugar (if using). Whisk until well combined.
- Add Wet Ingredients: Make a well in the center of the dry ingredients and add the milk and olive oil. Stir until a soft dough forms.
- Knead the Dough: Turn the dough out onto a lightly floured surface and knead gently for about 1-2 minutes until smooth. Avoid over-kneading.
Step 2: Shape the Bread
- Divide the Dough: Divide the dough into 2 equal portions (or more if you prefer smaller breads).
- Shape the Dough: Flatten each portion into a round disc about 1/2 inch thick. You can also shape them into small balls or any desired shape.
Step 3: Cook the Bread
- Heat the Pan: Place a non-stick skillet or frying pan over medium heat. If desired, lightly grease the pan with a little oil or butter.
- Cook the Bread: Place the shaped dough into the hot skillet. Cook for about 5-7 minutes on one side, until golden brown.
- Flip and Cook: Carefully flip the bread and cook for another 5-7 minutes on the other side. The bread should be cooked through and have a nice golden color.
- Check for Doneness: You can check if the bread is done by tapping on the bottom; it should sound hollow.
Step 4: Serve
- Cool Slightly: Remove the bread from the skillet and let it cool on a wire rack for a few minutes.
- Slice and Enjoy: Slice the bread and serve warm with butter, jam, or your favorite spread. It’s perfect for sandwiches or as a side with soups and salads!

Nutritional Information
Here’s a rough estimate of the nutritional content per slice (based on a recipe yielding about 8 slices):
| Nutrient | Amount |
|---|---|
| Calories | 120 |
| Total Fat | 4g |
| Saturated Fat | 1g |
| Cholesterol | 0mg |
| Sodium | 200mg |
| Total Carbohydrates | 18g |
| Dietary Fiber | 1g |
| Sugars | 1g |
| Protein | 3g |
Tips for Success
- Don’t Over-Knead: Knead just until the dough is smooth; over-kneading can lead to tough bread.
- Adjust Thickness: You can make the bread thicker or thinner based on your preference, just adjust the cooking time accordingly.
- Use a Lid: If you want softer bread, cover the skillet with a lid while cooking to trap steam.
Common Mistakes to Avoid
- Too High Heat: Cooking on too high a heat can burn the outside while leaving the inside raw. Medium heat is ideal.
- Not Checking for Doneness: Always check the bread by tapping on the bottom to ensure it’s cooked through.
Storing Tips
- Room Temperature: Store leftover bread in an airtight container at room temperature for up to 2 days.
- Freezing: Wrap slices in plastic wrap and freeze for up to 1 month. Thaw at room temperature or reheat in a skillet.
Conclusion
In summary, No-Oven Stovetop Bread is a quick and easy way to enjoy homemade bread without the need for an oven. With just a few simple ingredients and minimal equipment, you can create delicious bread that’s perfect for any meal. Try this recipe today and enjoy the warm, fresh taste of homemade bread!
FAQs
Can I add herbs or spices?
Absolutely! Feel free to add dried herbs, garlic powder, or spices to the dough for added flavor.
Can I use whole wheat flour?
Yes, you can substitute some or all of the all-purpose flour with whole wheat flour. You may need to adjust the liquid slightly.
What if I don’t have baking powder?
If you don’t have baking powder, you can make a substitute using 1/4 teaspoon baking soda mixed with 1/2 teaspoon vinegar or lemon juice.

No-Oven Stovetop Bread – Easy and Delicious
Ingredients
- For the Bread:
- 2 cups all-purpose flour – The base for the bread.
- 1 tablespoon baking powder – For leavening.
- 1 teaspoon salt – Enhances flavor.
- 1 tablespoon sugar (optional) – For a touch of sweetness.
- 3/4 cup milk – For moisture.
- 2 tablespoons olive oil (or melted butter) – Adds richness.
Instructions
Step 1: Prepare the Dough
- Mix Dry Ingredients: In a large mixing bowl, combine the flour, baking powder, salt, and sugar (if using). Whisk until well combined.
- Add Wet Ingredients: Make a well in the center of the dry ingredients and add the milk and olive oil. Stir until a soft dough forms.
- Knead the Dough: Turn the dough out onto a lightly floured surface and knead gently for about 1-2 minutes until smooth. Avoid over-kneading.
Step 2: Shape the Bread
- Divide the Dough: Divide the dough into 2 equal portions (or more if you prefer smaller breads).
- Shape the Dough: Flatten each portion into a round disc about 1/2 inch thick. You can also shape them into small balls or any desired shape.
Step 3: Cook the Bread
- Heat the Pan: Place a non-stick skillet or frying pan over medium heat. If desired, lightly grease the pan with a little oil or butter.
- Cook the Bread: Place the shaped dough into the hot skillet. Cook for about 5-7 minutes on one side, until golden brown.
- Flip and Cook: Carefully flip the bread and cook for another 5-7 minutes on the other side. The bread should be cooked through and have a nice golden color.
- Check for Doneness: You can check if the bread is done by tapping on the bottom; it should sound hollow.
Step 4: Serve
- Cool Slightly: Remove the bread from the skillet and let it cool on a wire rack for a few minutes.
- Slice and Enjoy: Slice the bread and serve warm with butter, jam, or your favorite spread. It’s perfect for sandwiches or as a side with soups and salads!