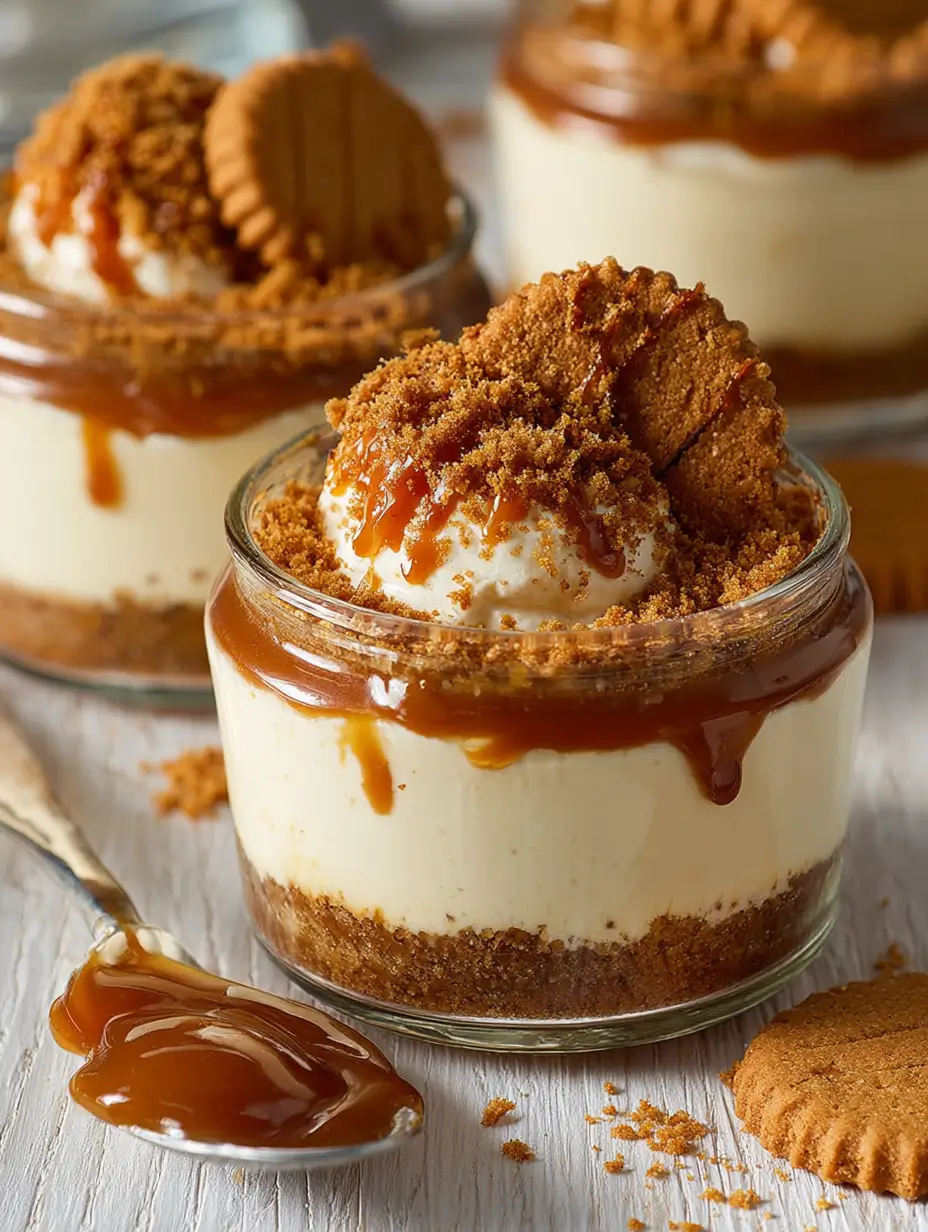
No-Bake Lotus Biscoff Cheesecake Cups: A Decadent Dessert Delight
Are you looking for a quick and delicious dessert that requires no baking? Look no further! These no-bake Lotus Biscoff cheesecake cups are the perfect treat for any occasion. With the rich flavor of Biscoff cookies, creamy cheesecake filling, and a delightful crunch, these cups are sure to impress your family and friends. Let’s dive into this easy and delectable recipe!
Ingredients List
To create these luscious no-bake Lotus Biscoff cheesecake cups, gather the following ingredients:
For the Cheesecake Filling:
- 8 oz cream cheese (softened)
- 1/2 cup powdered sugar
- 1 teaspoon vanilla extract
- 1 cup heavy whipping cream
- 1/2 cup Biscoff spread
For the Crust:
- 1 1/2 cups Lotus Biscoff cookies (crushed)
- 1/4 cup unsalted butter (melted)
For Topping:
- Additional Biscoff cookies (for garnish)
- Whipped cream (optional)
Substitutions:
- Cream Cheese: Use mascarpone for a different flavor and texture.
- Biscoff Spread: Almond or peanut butter can be used for an alternative flavor.
Timing
Preparing these no-bake Lotus Biscoff cheesecake cups will take approximately 30 minutes, with a chilling time of about 2 hours. Here’s the breakdown:
- Preparation Time: 30 minutes
- Chilling Time: 2 hours
Step-by-Step Instructions
Step 1: Prepare the Crust
- In a medium bowl, combine the crushed Biscoff cookies and melted butter. Mix until the crumbs are well coated.
- Spoon the mixture into the bottom of serving cups or glasses, pressing down firmly to create an even layer.
Step 2: Make the Cheesecake Filling
- In a large mixing bowl, beat the softened cream cheese with an electric mixer until smooth.
- Gradually add the powdered sugar and vanilla extract, mixing until well combined.
- In another bowl, whip the heavy cream until stiff peaks form.
- Gently fold the whipped cream into the cream cheese mixture until fully incorporated.
- Add the Biscoff spread and fold gently until the mixture is smooth and creamy.
Step 3: Assemble the Cups
- Spoon the cheesecake filling over the crust layer in each cup, filling them to the top.
- Smooth the tops with a spatula or the back of a spoon.
Step 4: Chill and Serve
- Cover the cups with plastic wrap and refrigerate for at least 2 hours to allow the cheesecake to set.
- Before serving, top with additional Biscoff cookies and a dollop of whipped cream if desired.
Notes
- Tips: For a more intense flavor, you can drizzle some extra Biscoff spread on top before serving.
- Substitutions: Use gluten-free cookies if needed for a gluten-free version.
- Storage Instructions: Store any leftovers in the refrigerator for up to 3 days.
Nutritional Information
Here’s a breakdown of the nutritional information per serving (assuming 6 servings):
- Calories: 320
- Total Fat: 22g
- Saturated Fat: 12g
- Cholesterol: 60mg
- Sodium: 150mg
- Total Carbohydrates: 30g
- Dietary Fiber: 1g
- Sugars: 15g
- Protein: 4g
Healthier Alternatives for the Recipe
If you want to make these no-bake Lotus Biscoff cheesecake cups a bit healthier, consider the following modifications:
- Reduce Sugar: Use less powdered sugar or a sugar substitute to lower the sweetness.
- Light Cream Cheese: Substitute with light or reduced-fat cream cheese for fewer calories.
- Add Fruit: Incorporate fresh fruit like strawberries or bananas for added flavor and nutrition.
Serving Suggestions
These no-bake Lotus Biscoff cheesecake cups are perfect for any occasion. Here are some creative serving ideas:
- Serve in individual cups for a fun party dessert.
- Layer in a large trifle dish for an impressive presentation at gatherings.
- Pair with a cup of coffee or tea for a delightful afternoon treat.
Common Mistakes to Avoid
- Not Softening the Cream Cheese: Make sure your cream cheese is at room temperature for easy mixing and a smooth texture.
- Overmixing the Whipped Cream: Gently fold the whipped cream into the cheesecake mixture to maintain lightness.
- Skipping Chilling Time: Allowing the cheesecake to chill is crucial for the best flavor and texture.
Storing Tips for the Recipe
- Refrigeration: Store any leftovers in an airtight container in the refrigerator for up to 3 days.
- Prepping Ahead: You can prepare the crust and filling a day in advance and assemble just before serving.
Conclusion
In summary, these no-bake Lotus Biscoff cheesecake cups are a delightful and easy dessert that everyone will love. They combine the rich flavor of Biscoff cookies with a creamy cheesecake filling for a satisfying treat. Try this recipe today, and don’t forget to share your feedback in the comments or leave a review! Subscribe for more delicious recipes and updates!
FAQs
Q1: Can I make this dessert ahead of time?
A: Yes! You can prepare the cheesecake cups a day in advance and keep them refrigerated until ready to serve.
Q2: What if I can’t find Biscoff cookies?
A: You can substitute with any similar spiced cookie or graham crackers.
Q3: How do I prevent the cheesecake from being too sweet?
A: Adjust the amount of powdered sugar to your taste preference.
Q4: Can I use a different type of cookie for the crust?
A: Absolutely! Oreos or chocolate cookies can be great alternatives.
Q5: How should I store leftovers?
A: Store leftovers in an airtight container in the refrigerator for up to 3 days.
With this guide, you’re ready to create your own no-bake Lotus Biscoff cheesecake cups that are sure to impress! Enjoy your delicious creation!
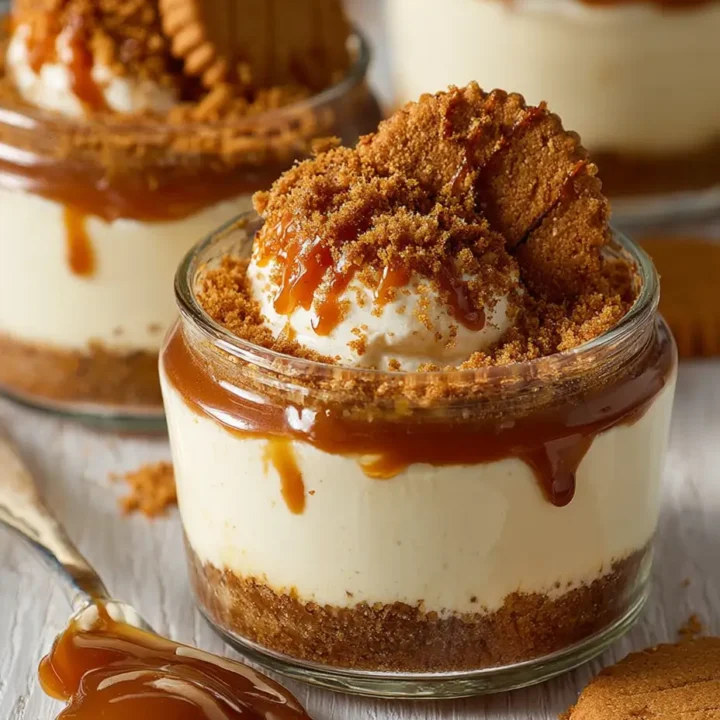
No-Bake Lotus Biscoff Cheesecake Cups: A Decadent Dessert Delight
Ingredients
- For the Cheesecake Filling:
- 8 oz cream cheese (softened)
- 1/2 cup powdered sugar
- 1 teaspoon vanilla extract
- 1 cup heavy whipping cream
- 1/2 cup Biscoff spread
- For the Crust:
- 1 1/2 cups Lotus Biscoff cookies (crushed)
- 1/4 cup unsalted butter (melted)
- For Topping:
- Additional Biscoff cookies (for garnish)
- Whipped cream (optional)
- Substitutions:
- Cream Cheese: Use mascarpone for a different flavor and texture.
- Biscoff Spread: Almond or peanut butter can be used for an alternative flavor.
Instructions
- In a medium bowl, combine the crushed Biscoff cookies and melted butter. Mix until the crumbs are well coated.
- Spoon the mixture into the bottom of serving cups or glasses, pressing down firmly to create an even layer.
- In a large mixing bowl, beat the softened cream cheese with an electric mixer until smooth.
- Gradually add the powdered sugar and vanilla extract, mixing until well combined.
- In another bowl, whip the heavy cream until stiff peaks form.
- Gently fold the whipped cream into the cream cheese mixture until fully incorporated.
- Add the Biscoff spread and fold gently until the mixture is smooth and creamy.
- Spoon the cheesecake filling over the crust layer in each cup, filling them to the top.
- Smooth the tops with a spatula or the back of a spoon.
- Cover the cups with plastic wrap and refrigerate for at least 2 hours to allow the cheesecake to set.
- Before serving, top with additional Biscoff cookies and a dollop of whipped cream if desired.
Step 1: Prepare the Crust
Step 2: Make the Cheesecake Filling
Step 3: Assemble the Cups
Step 4: Chill and Serve
Notes
- Tips: For a more intense flavor, you can drizzle some extra Biscoff spread on top before serving.
- Substitutions: Use gluten-free cookies if needed for a gluten-free version.
- Storage Instructions: Store any leftovers in the refrigerator for up to 3 days.


