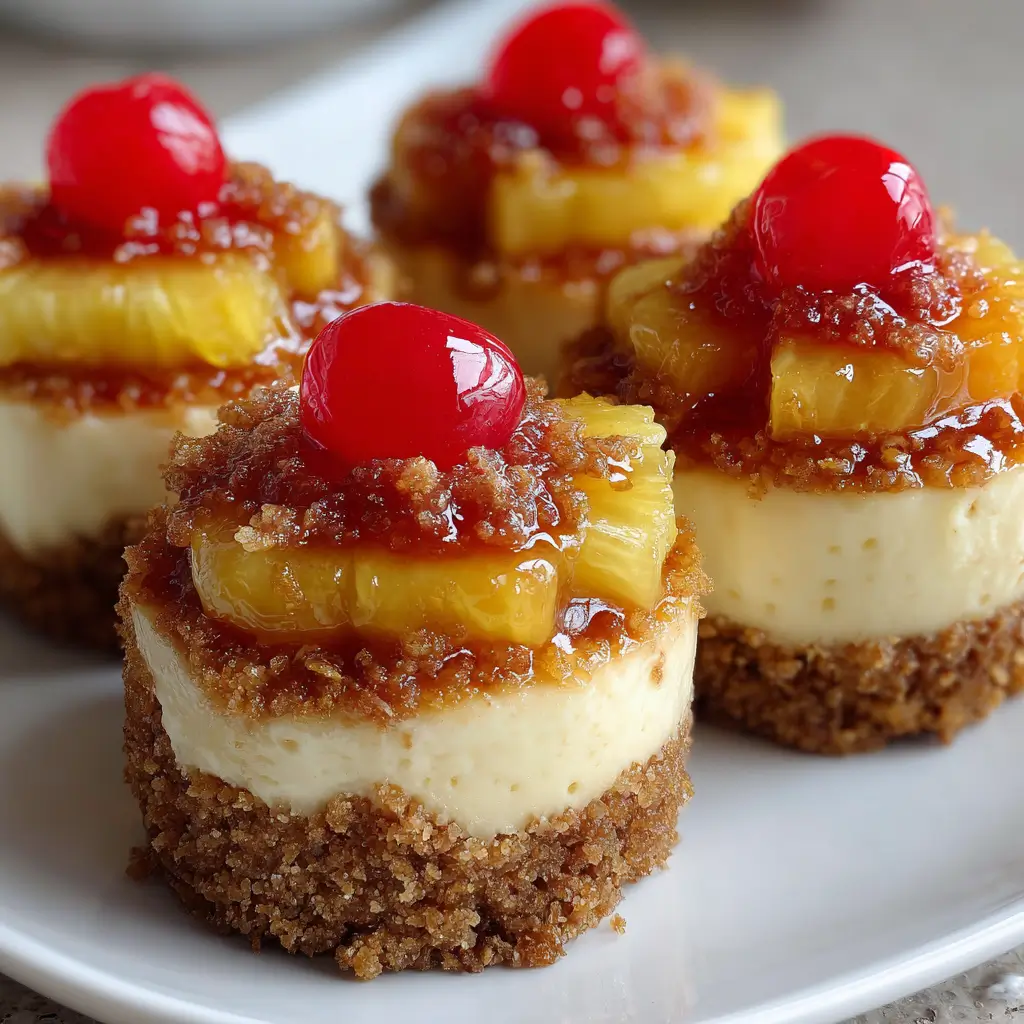
Mini Pineapple Upside-Down Cheesecakes
Have you ever craved a dessert that combines the creamy richness of cheesecake with the tropical sweetness of pineapple? The Mini Pineapple Upside-Down Cheesecakes are the answer to your dessert dreams! These delightful treats not only satisfy your sweet tooth but also bring a refreshing twist to traditional cheesecake. With their individual servings, they are perfect for parties or a cozy night in. In just about 45 minutes, you can whip up these mini desserts, making them an ideal choice for any occasion.
Ingredients List
To create these delicious Mini Pineapple Upside-Down Cheesecakes, gather the following ingredients:
For the Crust:
- Graham Cracker Crumbs (1 cup): For a buttery base.
- Granulated Sugar (2 tablespoons): To sweeten the crust.
- Unsalted Butter (4 tablespoons, melted): Adds richness and binds the crumbs.
For the Cheesecake Filling:
- Cream Cheese (8 oz, softened): The star ingredient for a creamy texture.
- Granulated Sugar (1/2 cup): Sweetens the filling.
- Egg (1 large): Helps set the cheesecake.
- Vanilla Extract (1 teaspoon): Adds depth of flavor.
- Sour Cream (1/4 cup): For extra creaminess.
For the Pineapple Topping:
- Canned Pineapple Rings (1 can, drained): Sweet and juicy topping.
- Maraschino Cherries (for garnish): Adds a pop of color and flavor.
Step-by-Step Instructions
Step 1: Preheat the Oven
Preheat your oven to 325°F (160°C). This ensures that your cheesecakes bake evenly and achieve the perfect texture.
Step 2: Prepare the Crust
In a mixing bowl, combine the graham cracker crumbs, granulated sugar, and melted butter. Stir until the mixture resembles wet sand.
Step 3: Assemble the Crust
Line a muffin tin with paper liners. Press about 1 tablespoon of the crust mixture into the bottom of each liner, ensuring it’s compact and even. Bake in the preheated oven for 5-7 minutes until lightly golden. Remove from the oven and let cool.
Step 4: Make the Cheesecake Filling
In a large mixing bowl, beat the softened cream cheese until smooth. Gradually add the granulated sugar, mixing until well combined. Add the egg, vanilla extract, and sour cream, mixing until smooth and creamy.
Step 5: Fill the Muffin Tin
Spoon the cheesecake filling over the cooled crusts, filling each liner about 3/4 full.
Step 6: Add Pineapple Topping
Place a pineapple ring on top of each cheesecake, gently pressing it down. If desired, add a maraschino cherry in the center of each pineapple ring for a festive touch.
Step 7: Bake the Cheesecakes
Bake in the preheated oven for 25-30 minutes, or until the centers are set and slightly jiggle when shaken. Remove from the oven and let them cool in the tin for about 10 minutes before transferring to a wire rack to cool completely.
Step 8: Chill and Serve
Refrigerate the cheesecakes for at least 2 hours before serving. This allows the flavors to meld and the texture to firm up.

Nutritional Information
Here’s a breakdown of the nutritional information per serving (based on 12 servings):
| Nutrient | Amount per Serving |
|---|---|
| Calories | 210 |
| Total Fat | 10g |
| Saturated Fat | 6g |
| Cholesterol | 50mg |
| Sodium | 180mg |
| Total Carbohydrates | 28g |
| Dietary Fiber | 1g |
| Sugars | 12g |
| Protein | 3g |
These mini cheesecakes are a delightful treat that balances sweetness and creaminess, making them a perfect dessert option.
Healthier Alternatives for the Recipe
To make the Mini Pineapple Upside-Down Cheesecakes a bit healthier, consider these substitutions:
- Use Low-Fat Cream Cheese: This reduces the overall fat content while maintaining creaminess.
- Substitute Greek Yogurt for Sour Cream: This adds protein and lowers fat while still providing creaminess.
- Honey or Maple Syrup Instead of Sugar: Natural sweeteners can enhance flavor and reduce processed sugar intake.
Serving Suggestions
These Mini Pineapple Upside-Down Cheesecakes are perfect for various occasions. Here are some serving suggestions:
- Garnish with Fresh Mint: Add a sprig of mint for a refreshing touch.
- Serve with Whipped Cream: A dollop of whipped cream on top adds an extra layer of indulgence.
- Pair with Tropical Fruit Salad: A side of fresh fruit complements the flavors beautifully.
Common Mistakes to Avoid
- Overmixing the Cheesecake Filling: This can incorporate too much air, leading to cracks. Mix until just combined.
- Not Cooling the Crust: Ensure the crust is completely cool before adding the filling to prevent sogginess.
- Skipping the Chilling Step: Chilling is crucial for achieving the right texture. Don’t rush this step!
Storing Tips for the Recipe
To keep your Mini Pineapple Upside-Down Cheesecakes fresh:
- Refrigeration: Store in an airtight container in the fridge for up to 5 days.
- Freezing: These cheesecakes can be frozen for up to 2 months. Wrap each cheesecake individually in plastic wrap and then in foil.
- Thawing: To enjoy frozen cheesecakes, thaw them in the refrigerator overnight.
Conclusion
The Mini Pineapple Upside-Down Cheesecakes are a delightful fusion of flavors that are sure to impress your guests. With their creamy texture and tropical flair, they make for a perfect dessert for any occasion. Try this recipe today, and don’t forget to share your feedback in the comments or subscribe for more delicious updates!
FAQs
Can I use fresh pineapple instead of canned?
Yes, fresh pineapple can be used! Just make sure to slice it thinly and grill or roast it slightly for added flavor.
How can I make these cheesecakes gluten-free?
Use gluten-free graham cracker crumbs for the crust, and ensure that all other ingredients are gluten-free.
Can I make these cheesecakes in advance?
Absolutely! They can be made a day ahead and stored in the refrigerator until ready to serve.

Mini Pineapple Upside-Down Cheesecakes
Ingredients
- For the Crust:
- Graham Cracker Crumbs (1 cup): For a buttery base.
- Granulated Sugar (2 tablespoons): To sweeten the crust.
- Unsalted Butter (4 tablespoons, melted): Adds richness and binds the crumbs.
- For the Cheesecake Filling:
- Cream Cheese (8 oz, softened): The star ingredient for a creamy texture.
- Granulated Sugar (1/2 cup): Sweetens the filling.
- Egg (1 large): Helps set the cheesecake.
- Vanilla Extract (1 teaspoon): Adds depth of flavor.
- Sour Cream (1/4 cup): For extra creaminess.
- For the Pineapple Topping:
- Canned Pineapple Rings (1 can, drained): Sweet and juicy topping.
- Maraschino Cherries (for garnish): Adds a pop of color and flavor.
Instructions
Step 1: Preheat the Oven
Preheat your oven to 325°F (160°C). This ensures that your cheesecakes bake evenly and achieve the perfect texture.
Step 2: Prepare the Crust
In a mixing bowl, combine the graham cracker crumbs, granulated sugar, and melted butter. Stir until the mixture resembles wet sand.
Step 3: Assemble the Crust
Line a muffin tin with paper liners. Press about 1 tablespoon of the crust mixture into the bottom of each liner, ensuring it’s compact and even. Bake in the preheated oven for 5-7 minutes until lightly golden. Remove from the oven and let cool.
Step 4: Make the Cheesecake Filling
In a large mixing bowl, beat the softened cream cheese until smooth. Gradually add the granulated sugar, mixing until well combined. Add the egg, vanilla extract, and sour cream, mixing until smooth and creamy.
Step 5: Fill the Muffin Tin
Spoon the cheesecake filling over the cooled crusts, filling each liner about 3/4 full.
Step 6: Add Pineapple Topping
Place a pineapple ring on top of each cheesecake, gently pressing it down. If desired, add a maraschino cherry in the center of each pineapple ring for a festive touch.
Step 7: Bake the Cheesecakes
Bake in the preheated oven for 25-30 minutes, or until the centers are set and slightly jiggle when shaken. Remove from the oven and let them cool in the tin for about 10 minutes before transferring to a wire rack to cool completely.
Step 8: Chill and Serve
Refrigerate the cheesecakes for at least 2 hours before serving. This allows the flavors to meld and the texture to firm up.


