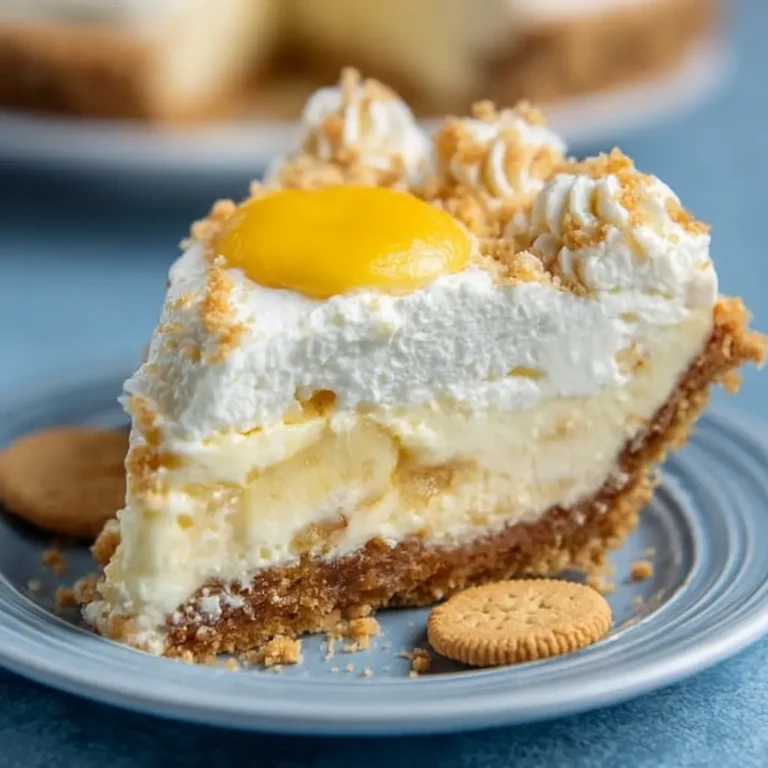
Easy Cherry Cheesecake Recipe with Pistachio Crust
This Easy Cherry Cheesecake with a Pistachio Crust is a delightful dessert that combines creamy cheesecake with a crunchy and flavorful crust. The cherry topping adds a burst of sweetness and color, making it perfect for any occasion. Let’s get started on this delicious recipe!
Ingredients You’ll Need
For the Pistachio Crust:
- 1 1/2 cups pistachio nuts (shelled and unsalted)
- 1/4 cup granulated sugar
- 1/4 cup unsalted butter, melted
For the Cheesecake Filling:
- 16 ounces cream cheese, softened
- 1 cup granulated sugar
- 1 teaspoon vanilla extract
- 3 large eggs
- 1 cup sour cream (or Greek yogurt)
For the Cherry Topping:
- 1 can (21 ounces) cherry pie filling (or homemade cherry topping)
- Fresh cherries (for garnish, optional)
Timing
- Prep Time: 15 minutes
- Cook Time: 50-60 minutes
- Chill Time: 4 hours (or overnight)
- Total Time: Approximately 5 hours and 15 minutes
This Easy Cherry Cheesecake with Pistachio Crust is a delightful treat!
Instructions
1. Prepare the Pistachio Crust
- Preheat your oven to 350°F (175°C).
- In a food processor, pulse the pistachio nuts until finely ground. Be careful not to over-process; you want a crumbly texture, not nut butter.
- In a medium bowl, combine the ground pistachios, sugar, and melted butter. Mix until well combined.
- Press the mixture firmly into the bottom of a 9-inch springform pan to form an even layer.
2. Bake the Crust
- Bake the crust in the preheated oven for 10 minutes. Remove from the oven and let it cool while you prepare the cheesecake filling.
3. Make the Cheesecake Filling
- In a large mixing bowl, beat the softened cream cheese and sugar together until smooth and creamy.
- Add the vanilla extract and mix well.
- Add the eggs one at a time, mixing on low speed until just combined. Be careful not to overmix.
- Fold in the sour cream until fully incorporated.
4. Assemble the Cheesecake
- Pour the cheesecake filling over the cooled pistachio crust, smoothing the top with a spatula.
- Bake in the oven for 50-60 minutes, or until the center is set but still slightly jiggly. The edges should be firm.
5. Cool and Chill
- Once baked, turn off the oven and leave the cheesecake inside with the door slightly ajar for about 1 hour to cool slowly. This helps prevent cracking.
- After cooling, remove the cheesecake from the oven and let it cool to room temperature. Then refrigerate for at least 4 hours, or overnight for best results.
6. Add the Cherry Topping
- Once chilled, spread the cherry pie filling evenly over the top of the cheesecake. If desired, garnish with fresh cherries.
7. Serve
- Carefully remove the sides of the springform pan. Slice and serve your delicious Cherry Cheesecake with Pistachio Crust!

Notes
- Storage: Leftover cheesecake can be stored in an airtight container in the refrigerator for up to 5 days. It can also be frozen for up to 2 months; wrap it tightly in plastic wrap and foil.
- Customization: Feel free to experiment with different toppings, such as blueberries or strawberries, or use a homemade cherry sauce instead of canned filling.
- Common Mistakes: Avoid overmixing the batter to prevent cracks. Make sure all ingredients are at room temperature for a smoother filling.
Nutritional Information (Approximate per Slice, based on 12 servings)
| Nutrient | Amount per Slice |
|---|---|
| Calories | 320 |
| Total Fat | 22g |
| Saturated Fat | 10g |
| Carbohydrates | 26g |
| Sugars | 15g |
| Protein | 6g |
Healthier Alternatives
- Use low-fat cream cheese and Greek yogurt for a lighter version of the cheesecake.
- Substitute some of the sugar with a sugar alternative if desired.
Serving Suggestions
This Cherry Cheesecake with Pistachio Crust is perfect for:
- Celebratory occasions like birthdays or holidays.
- A sweet ending to a family dinner.
- Serving at potlucks or gatherings.
Conclusion
This Easy Cherry Cheesecake with Pistachio Crust is a delicious and impressive dessert that is sure to please your guests. I encourage you to try this recipe and share your thoughts in the comments below. Enjoy your delightful cheesecake!
FAQs
Can I use a different type of nut for the crust?
Yes! You can substitute with almonds, walnuts, or graham crackers for a different flavor profile.
How can I make this cheesecake gluten-free?
Ensure that the pistachios are processed in a gluten-free facility, and use a gluten-free sugar substitute if necessary.
Can I make this cheesecake ahead of time?
Absolutely! This cheesecake is great for making a day or two in advance. Just store it in the refrigerator until ready to serve.
What can I use instead of cherry pie filling?
You can make a homemade cherry sauce by cooking fresh or frozen cherries with sugar and cornstarch until thickened.
Is this cheesecake suitable for freezing?
Yes! You can freeze the cheesecake before adding the topping. Just wrap it tightly and thaw in the refrigerator before serving.

Easy Cherry Cheesecake Recipe with Pistachio Crust
Ingredients
- For the Pistachio Crust:
- 1 1/2 cups pistachio nuts (shelled and unsalted)
- 1/4 cup granulated sugar
- 1/4 cup unsalted butter, melted
- For the Cheesecake Filling:
- 16 ounces cream cheese, softened
- 1 cup granulated sugar
- 1 teaspoon vanilla extract
- 3 large eggs
- 1 cup sour cream (or Greek yogurt)
- For the Cherry Topping:
- 1 can (21 ounces) cherry pie filling (or homemade cherry topping)
- Fresh cherries (for garnish, optional)
Instructions
1. Prepare the Pistachio Crust
- Preheat your oven to 350°F (175°C).
- In a food processor, pulse the pistachio nuts until finely ground. Be careful not to over-process; you want a crumbly texture, not nut butter.
- In a medium bowl, combine the ground pistachios, sugar, and melted butter. Mix until well combined.
- Press the mixture firmly into the bottom of a 9-inch springform pan to form an even layer.
2. Bake the Crust
- Bake the crust in the preheated oven for 10 minutes. Remove from the oven and let it cool while you prepare the cheesecake filling.
3. Make the Cheesecake Filling
- In a large mixing bowl, beat the softened cream cheese and sugar together until smooth and creamy.
- Add the vanilla extract and mix well.
- Add the eggs one at a time, mixing on low speed until just combined. Be careful not to overmix.
- Fold in the sour cream until fully incorporated.
4. Assemble the Cheesecake
- Pour the cheesecake filling over the cooled pistachio crust, smoothing the top with a spatula.
- Bake in the oven for 50-60 minutes, or until the center is set but still slightly jiggly. The edges should be firm.
5. Cool and Chill
- Once baked, turn off the oven and leave the cheesecake inside with the door slightly ajar for about 1 hour to cool slowly. This helps prevent cracking.
- After cooling, remove the cheesecake from the oven and let it cool to room temperature. Then refrigerate for at least 4 hours, or overnight for best results.
6. Add the Cherry Topping
- Once chilled, spread the cherry pie filling evenly over the top of the cheesecake. If desired, garnish with fresh cherries.
7. Serve
- Carefully remove the sides of the springform pan. Slice and serve your delicious Cherry Cheesecake with Pistachio Crust!