Butter Tarts: A Classic Canadian Treat
Introduction
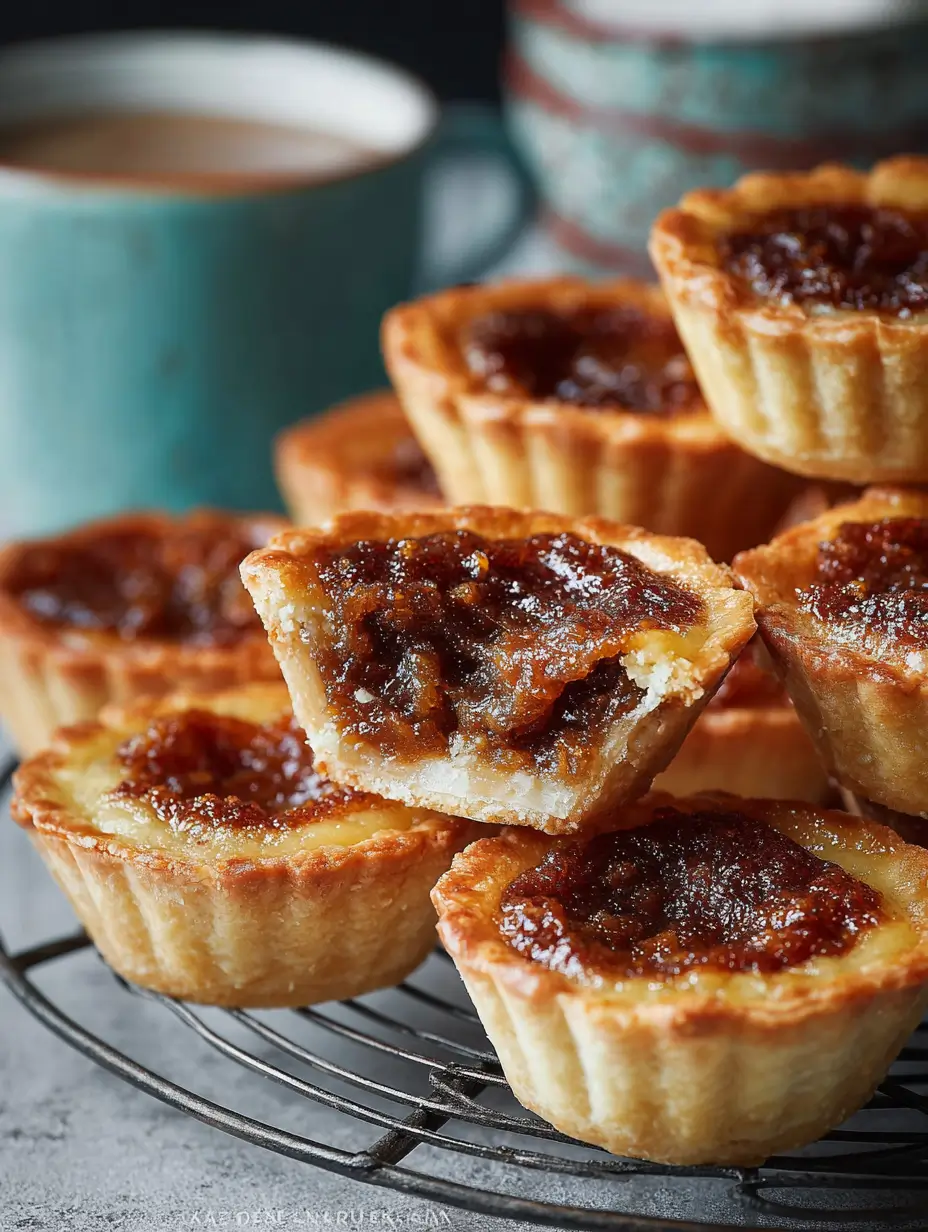
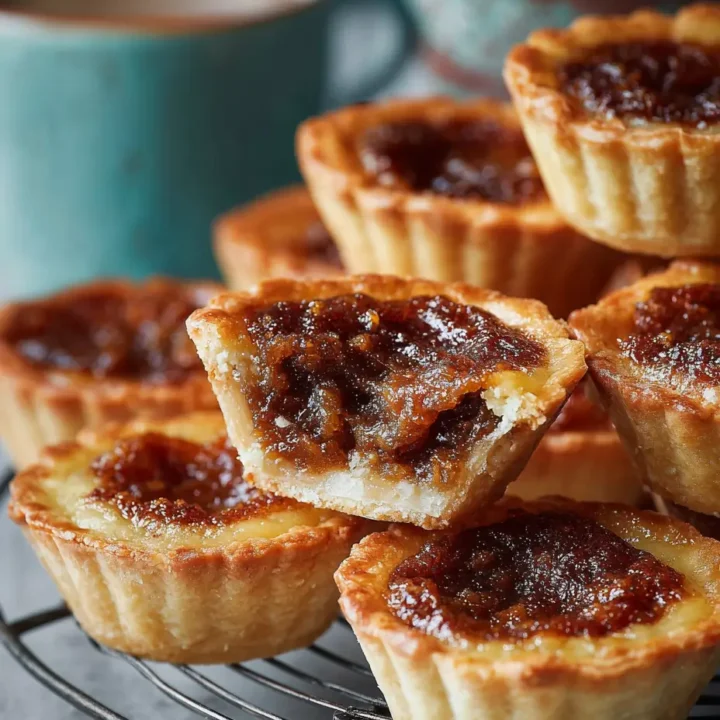
Butter tarts are a beloved Canadian dessert known for their flaky pastry crust and rich, sweet filling. They are typically made with a mixture of butter, sugar, and eggs, resulting in a gooey, caramel-like center. Often enjoyed with or without raisins or nuts, butter tarts are perfect for any occasion, from holiday gatherings to casual snacks. Let’s dive into how to make these delightful treats!
Ingredients List
For the Pastry:
- 1 1/4 cups all-purpose flour: The base for the crust.
- 1/4 teaspoon salt: To enhance flavor.
- 1/2 cup unsalted butter (cold and cubed): For a flaky texture.
- 1/4 cup granulated sugar: For sweetness.
- 1/4 cup cold water: For binding the dough.
For the Filling:
- 1/2 cup unsalted butter (melted): For richness.
- 1 cup brown sugar: For sweetness and flavor.
- 1/2 cup corn syrup: For a gooey texture.
- 2 large eggs: For binding.
- 1 teaspoon vanilla extract: For flavor.
- 1/4 teaspoon salt: To enhance flavor.
- Optional: 1/2 cup raisins or chopped pecans/walnuts for added texture.
Timing
Making butter tarts is straightforward:
- Preparation Time: 20 minutes
- Chilling Time: 30 minutes (for the pastry)
- Baking Time: 20-25 minutes
- Total Time: Approximately 1 hour 15 minutes
Step-by-Step Instructions
Step 1: Make the Pastry
- Combine Dry Ingredients: In a mixing bowl, whisk together the flour and salt.
- Cut in Butter: Add the cold, cubed butter to the flour mixture. Using a pastry cutter or your fingertips, cut the butter into the flour until it resembles coarse crumbs.
- Add Sugar: Stir in the granulated sugar.
- Add Water: Gradually add the cold water, mixing until the dough comes together. Do not overmix.
- Chill the Dough: Form the dough into a disk, wrap it in plastic wrap, and refrigerate for about 30 minutes.
Step 2: Prepare the Filling
- Mix Ingredients: In a mixing bowl, whisk together the melted butter, brown sugar, corn syrup, eggs, vanilla extract, and salt until smooth. If using, fold in the raisins or nuts.
Step 3: Preheat the Oven
- Preheat: Preheat your oven to 375°F (190°C).
Step 4: Roll Out the Pastry
- Roll the Dough: On a floured surface, roll out the chilled pastry dough to about 1/8 inch thick.
- Cut and Place in Tins: Use a round cutter to cut out circles of dough and place them into a greased muffin tin or tart pan, pressing gently to fit.
Step 5: Fill the Tarts
- Fill with Mixture: Pour the filling mixture into each pastry shell, filling them about 3/4 full to allow for expansion.
Step 6: Bake the Tarts
- Bake: Place the muffin tin in the preheated oven and bake for 20-25 minutes, or until the filling is set and the tops are lightly browned.
Step 7: Cool and Serve
- Cool: Allow the butter tarts to cool in the pan for about 10 minutes before transferring them to a wire rack to cool completely.
- Serve: Enjoy your butter tarts warm or at room temperature!
Notes
- Storage: Butter tarts can be stored in an airtight container at room temperature for up to 3 days. They can also be refrigerated for up to 1 week.
- Variations: Feel free to experiment with different fillings, such as chocolate chips, coconut, or other dried fruits.
- Common Mistakes: Avoid overfilling the tarts, as the filling can bubble over during baking.
Nutritional Information
Here’s a rough breakdown of the nutritional content for one butter tart (based on 12 servings):
| Nutrient | Amount per Tart |
|---|---|
| Calories | 180 |
| Protein | 2g |
| Fat | 8g |
| Carbohydrates | 26g |
| Fiber | 1g |
| Sugar | 12g |
These values can vary based on specific ingredients and portion sizes.
Healthier Alternatives for the Recipe
If you’re looking to make your butter tarts a bit healthier, consider these modifications:
- Use Whole Wheat Flour: Substitute half of the all-purpose flour with whole wheat flour for added fiber.
- Reduce Sugar: You can reduce the amount of brown sugar or use a sugar substitute to lower the calorie count.
- Use Coconut Oil: Replace butter with coconut oil for a dairy-free option.
Serving Suggestions
To enhance your butter tarts experience, try these serving suggestions:
- Serve with Ice Cream: Pair warm butter tarts with a scoop of vanilla ice cream for an indulgent dessert.
- Top with Whipped Cream: Add a dollop of whipped cream for extra creaminess.
- Garnish with Nuts: Sprinkle chopped nuts on top for added texture and flavor.
Common Mistakes to Avoid
- Not Chilling the Dough: Chilling the dough helps prevent shrinkage while baking, ensuring a perfect crust.
- Overbaking: Keep an eye on the tarts to avoid overbaking, which can lead to a hard filling.
- Skipping the Raisins or Nuts: Adding these ingredients can enhance the flavor and texture of the tarts.
Storing Tips for the Recipe
- Refrigeration: Store in an airtight container in the refrigerator for up to 1 week.
- Freezing: Butter tarts can be frozen for up to 3 months. Place them in a single layer in a freezer-safe container.
- Prepping Ahead: You can prepare the pastry dough in advance and refrigerate it for up to 2 days before using.
Conclusion
In summary, butter tarts are a classic Canadian treat that is both delicious and easy to make. With their rich filling and flaky crust, they are sure to delight anyone who tries them. Try this recipe today, and don’t forget to share your feedback in the comments or subscribe for more delicious updates!
FAQs
Can I use store-bought pastry for butter tarts?
Yes! Store-bought pastry can save time if you prefer not to make your own.
How do I know when the tarts are done?
The filling should be set, and the tops should be lightly browned when done.
Can I make these tarts in advance?
Yes! You can prepare the tarts ahead of time and bake them just before serving.
What can I serve with butter tarts?
These tarts pair well with coffee, tea, or a scoop of ice cream.
Can I make these tarts gluten-free?
Yes! Use a gluten-free flour blend to make the pastry gluten-free.
Now that you have all the details, it’s time to get baking! Enjoy your butter tarts!
Butter Tarts: A Classic Canadian Treat
Ingredients
- For the Pastry:
- 1 1/4 cups all-purpose flour: The base for the crust.
- 1/4 teaspoon salt: To enhance flavor.
- 1/2 cup unsalted butter (cold and cubed): For a flaky texture.
- 1/4 cup granulated sugar: For sweetness.
- 1/4 cup cold water: For binding the dough.
- For the Filling:
- 1/2 cup unsalted butter (melted): For richness.
- 1 cup brown sugar: For sweetness and flavor.
- 1/2 cup corn syrup: For a gooey texture.
- 2 large eggs: For binding.
- 1 teaspoon vanilla extract: For flavor.
- 1/4 teaspoon salt: To enhance flavor.
- Optional: 1/2 cup raisins or chopped pecans/walnuts for added texture.
Instructions
- Combine Dry Ingredients: In a mixing bowl, whisk together the flour and salt.
- Cut in Butter: Add the cold, cubed butter to the flour mixture. Using a pastry cutter or your fingertips, cut the butter into the flour until it resembles coarse crumbs.
- Add Sugar: Stir in the granulated sugar.
- Add Water: Gradually add the cold water, mixing until the dough comes together. Do not overmix.
- Chill the Dough: Form the dough into a disk, wrap it in plastic wrap, and refrigerate for about 30 minutes.
- Mix Ingredients: In a mixing bowl, whisk together the melted butter, brown sugar, corn syrup, eggs, vanilla extract, and salt until smooth. If using, fold in the raisins or nuts.
- Preheat: Preheat your oven to 375°F (190°C).
- Roll the Dough: On a floured surface, roll out the chilled pastry dough to about 1/8 inch thick.
- Cut and Place in Tins: Use a round cutter to cut out circles of dough and place them into a greased muffin tin or tart pan, pressing gently to fit.
- Fill with Mixture: Pour the filling mixture into each pastry shell, filling them about 3/4 full to allow for expansion.
- Bake: Place the muffin tin in the preheated oven and bake for 20-25 minutes, or until the filling is set and the tops are lightly browned.
- Cool: Allow the butter tarts to cool in the pan for about 10 minutes before transferring them to a wire rack to cool completely.
- Serve: Enjoy your butter tarts warm or at room temperature!
Step 1: Make the Pastry
Step 2: Prepare the Filling
Step 3: Preheat the Oven
Step 4: Roll Out the Pastry
Step 5: Fill the Tarts
Step 6: Bake the Tarts
Step 7: Cool and Serve
Notes
- Variations: Feel free to experiment with different fillings, such as chocolate chips, coconut, or other dried fruits.
- Common Mistakes: Avoid overfilling the tarts, as the filling can bubble over during baking.