Peanut Butter & Jelly Cups
Introduction
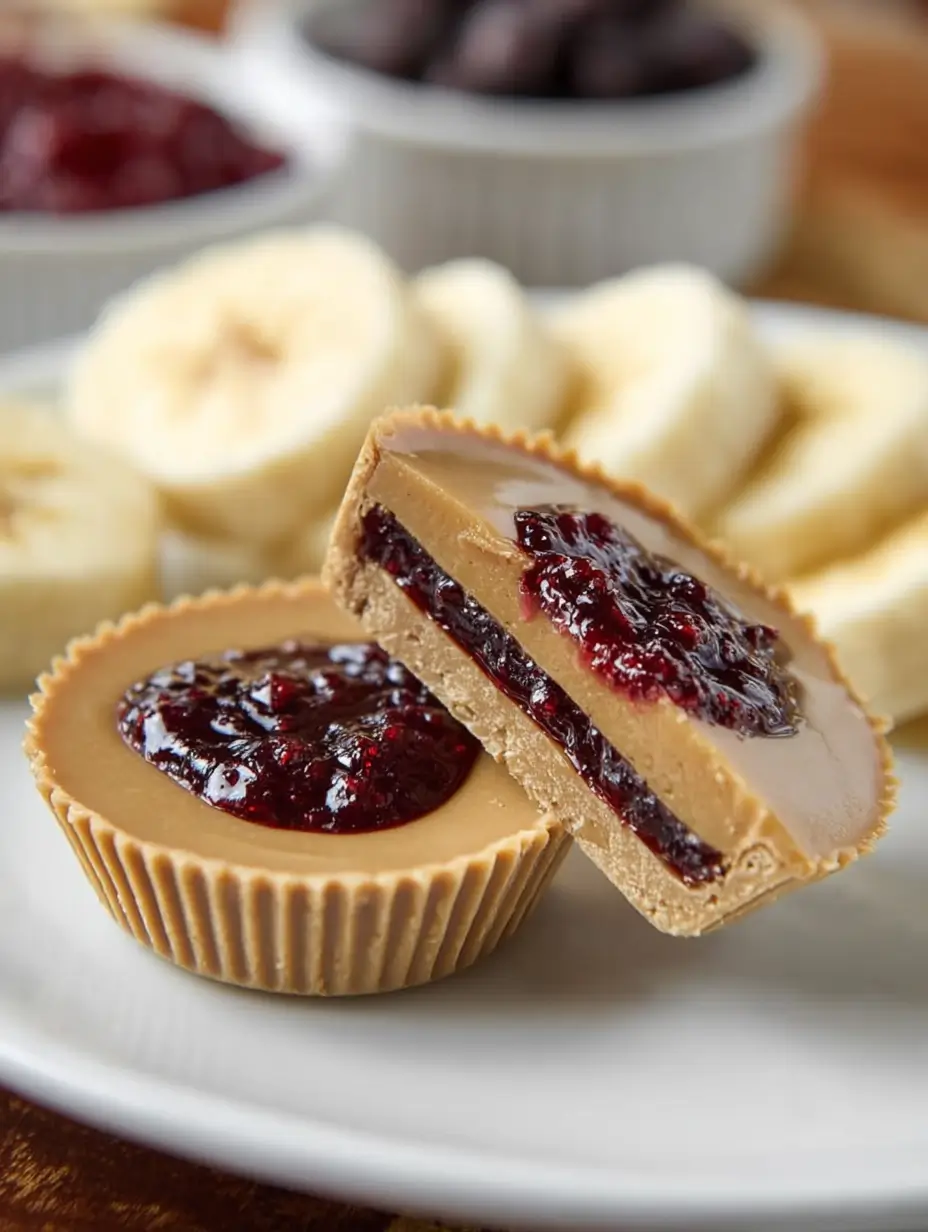
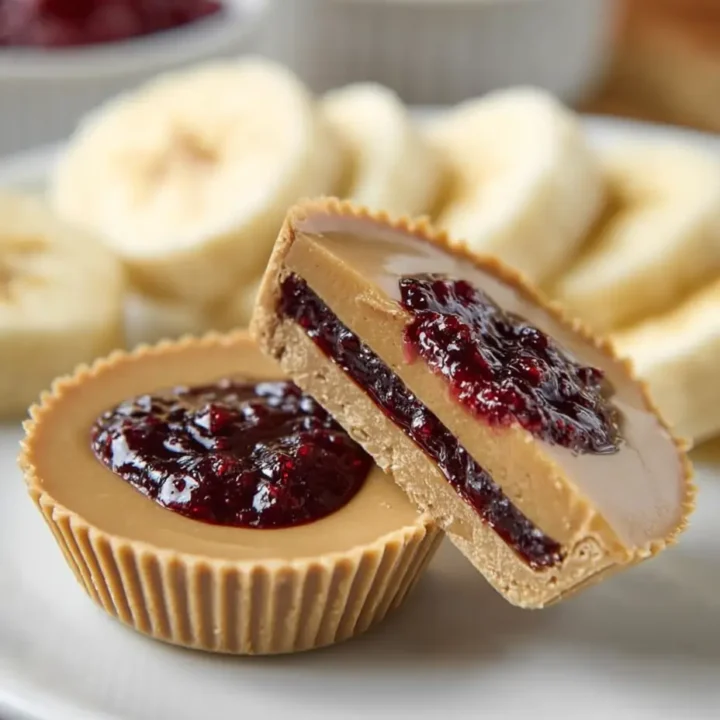
Peanut Butter & Jelly Cups are a delightful and fun twist on the classic peanut butter and jelly sandwich. These no-bake treats feature a creamy peanut butter filling encased in a chocolate shell, with a layer of your favorite jelly or jam in the center. Perfect for snacks, desserts, or lunchboxes, these cups are sure to please kids and adults alike. Let’s dive into how to make these delicious treats!
Ingredients List
For the Chocolate Shell:
- 1 cup semi-sweet chocolate chips: Or dark chocolate chips.
- 1 tablespoon coconut oil: Optional, for a smoother consistency.
For the Peanut Butter Filling:
- 1 cup creamy peanut butter: Natural or regular.
- 1/2 cup powdered sugar: For sweetness.
- 1/4 cup graham cracker crumbs: For texture.
- 1/2 teaspoon vanilla extract: For flavor.
- Pinch of salt: To enhance flavors.
For the Jelly Layer:
- 1/2 cup jelly or jam: Your favorite flavor (strawberry, grape, raspberry, etc.).
Timing
Making Peanut Butter & Jelly Cups is quick and easy:
- Preparation Time: 15 minutes
- Chilling Time: 30 minutes
- Total Time: Approximately 45 minutes
Step-by-Step Instructions
Step 1: Prepare the Chocolate Shell
- Melt the Chocolate: In a microwave-safe bowl, combine 1 cup of chocolate chips and 1 tablespoon of coconut oil (if using). Microwave in 30-second intervals, stirring in between, until fully melted and smooth.
Step 2: Assemble the Cups
- Prepare the Muffin Tin: Line a muffin tin with paper liners or silicone cups.
- Add Chocolate to Liners: Spoon a small amount of melted chocolate into the bottom of each liner, just enough to cover the bottom. Use a spoon to spread it up the sides a little.
- Chill: Place the muffin tin in the refrigerator for about 10-15 minutes to allow the chocolate to set.
Step 3: Make the Peanut Butter Filling
- Mix Filling Ingredients: In a medium bowl, combine 1 cup of peanut butter, 1/2 cup of powdered sugar, 1/4 cup of graham cracker crumbs, 1/2 teaspoon of vanilla extract, and a pinch of salt. Mix until smooth and well combined.
Step 4: Fill the Cups
- Add Peanut Butter Filling: Remove the muffin tin from the refrigerator. Spoon the peanut butter mixture into each chocolate-lined cup, filling them about 3/4 full.
- Add Jelly Layer: Top each peanut butter layer with a small spoonful of jelly or jam, creating a small well in the center.
Step 5: Finish with Chocolate
- Top with Chocolate: Pour the remaining melted chocolate over the jelly layer in each cup, ensuring it is fully covered. Tap the muffin tin gently on the counter to settle the chocolate.
- Chill Again: Place the muffin tin back in the refrigerator for another 15-20 minutes to allow the chocolate to set completely.
Step 6: Serve
- Remove from Tin: Once set, remove the cups from the muffin tin and peel off the liners.
- Enjoy: Serve immediately or store in an airtight container in the refrigerator for up to 1 week.
Notes
- Storage: Leftover cups can be stored in an airtight container in the refrigerator for up to 1 week. They can also be frozen for longer storage; just thaw before serving.
- Variations: Feel free to use different nut butters (like almond or cashew) and different flavors of jelly or jam to customize the cups.
- Common Mistakes: Ensure the chocolate is fully melted and smooth to avoid lumps in the chocolate shell.
Nutritional Information
Here’s a rough breakdown of the nutritional content for one cup (based on 12 servings):
| Nutrient | Amount per Cup |
|---|---|
| Calories | 180 |
| Protein | 4g |
| Fat | 10g |
| Carbohydrates | 20g |
| Fiber | 1g |
| Sugar | 10g |
These values can vary based on specific ingredients and portion sizes.
Healthier Alternatives for the Recipe
If you’re looking to make your Peanut Butter & Jelly Cups even healthier, consider these modifications:
- Use Dark Chocolate: Opt for dark chocolate chips to reduce sugar content and increase antioxidants.
- Natural Sweeteners: Substitute powdered sugar with a natural sweetener like stevia or monk fruit for a lower-sugar option.
- Whole Grain Crust: Use whole grain or gluten-free graham cracker crumbs for added fiber.
Serving Suggestions
To enhance your Peanut Butter & Jelly Cups experience, try these serving suggestions:
- Pair with Fresh Fruit: Serve alongside fresh fruit like apple slices or banana for a complete snack.
- Add a Glass of Milk: These cups pair wonderfully with a glass of milk or a dairy-free alternative.
- Create a Snack Platter: Include them on a snack platter with other treats like cookies, fruit, and nuts for variety.
Common Mistakes to Avoid
- Not Melting Chocolate Properly: Be cautious not to overheat the chocolate; melt it in short intervals to prevent burning.
- Overfilling: Leave enough space for the jelly layer and top chocolate layer to avoid overflow.
- Skipping the Chilling Time: Allow adequate time for the chocolate to set for the best texture.
Storing Tips for the Recipe
- Refrigeration: Store in an airtight container in the refrigerator for up to 1 week.
- Freezing: These cups can be frozen for up to 2 months. Thaw in the refrigerator before serving.
- Prepping Ahead: You can prepare the chocolate shells and peanut butter filling in advance, then assemble just before serving.
Conclusion
In summary, Peanut Butter & Jelly Cups are a fun and delicious treat that brings together the classic flavors of peanut butter and jelly in a delightful new form. They are easy to make, customizable, and perfect for any occasion. Try this recipe today, and don’t forget to share your feedback in the comments or subscribe for more delicious updates!
FAQs
Can I use crunchy peanut butter?
Yes! Crunchy peanut butter will add texture to the filling.
What if I don’t have graham cracker crumbs?
You can substitute with crushed cookies or oats for a different texture.
Can I make these cups vegan?
Yes! Use dairy-free chocolate and a plant-based peanut butter for a vegan version.
How do I know when the cups are ready?
The chocolate should be set and firm to the touch before removing them from the muffin tin.
Can I use different types of chocolate?
Absolutely! You can use milk chocolate, white chocolate, or even flavored chocolate for a unique twist.
Now that you have all the details, it’s time to get cooking! Enjoy your Peanut Butter & Jelly Cups!
Peanut Butter & Jelly Cups
Ingredients
- For the Chocolate Shell:
- 1 cup semi-sweet chocolate chips: Or dark chocolate chips.
- 1 tablespoon coconut oil: Optional, for a smoother consistency.
- For the Peanut Butter Filling:
- 1 cup creamy peanut butter: Natural or regular.
- 1/2 cup powdered sugar: For sweetness.
- 1/4 cup graham cracker crumbs: For texture.
- 1/2 teaspoon vanilla extract: For flavor.
- Pinch of salt: To enhance flavors.
- For the Jelly Layer:
- 1/2 cup jelly or jam: Your favorite flavor (strawberry, grape, raspberry, etc.).
Instructions
- Melt the Chocolate: In a microwave-safe bowl, combine 1 cup of chocolate chips and 1 tablespoon of coconut oil (if using). Microwave in 30-second intervals, stirring in between, until fully melted and smooth.
- Prepare the Muffin Tin: Line a muffin tin with paper liners or silicone cups.
- Add Chocolate to Liners: Spoon a small amount of melted chocolate into the bottom of each liner, just enough to cover the bottom. Use a spoon to spread it up the sides a little.
- Chill: Place the muffin tin in the refrigerator for about 10-15 minutes to allow the chocolate to set.
- Mix Filling Ingredients: In a medium bowl, combine 1 cup of peanut butter, 1/2 cup of powdered sugar, 1/4 cup of graham cracker crumbs, 1/2 teaspoon of vanilla extract, and a pinch of salt. Mix until smooth and well combined.
- Add Peanut Butter Filling: Remove the muffin tin from the refrigerator. Spoon the peanut butter mixture into each chocolate-lined cup, filling them about 3/4 full.
- Add Jelly Layer: Top each peanut butter layer with a small spoonful of jelly or jam, creating a small well in the center.
- Top with Chocolate: Pour the remaining melted chocolate over the jelly layer in each cup, ensuring it is fully covered. Tap the muffin tin gently on the counter to settle the chocolate.
- Chill Again: Place the muffin tin back in the refrigerator for another 15-20 minutes to allow the chocolate to set completely.
- Remove from Tin: Once set, remove the cups from the muffin tin and peel off the liners.
- Enjoy: Serve immediately or store in an airtight container in the refrigerator for up to 1 week.
Step 1: Prepare the Chocolate Shell
Step 2: Assemble the Cups
Step 3: Make the Peanut Butter Filling
Step 4: Fill the Cups
Step 5: Finish with Chocolate
Step 6: Serve
Notes
- Variations: Feel free to use different nut butters (like almond or cashew) and different flavors of jelly or jam to customize the cups.
- Common Mistakes: Ensure the chocolate is fully melted and smooth to avoid lumps in the chocolate shell.