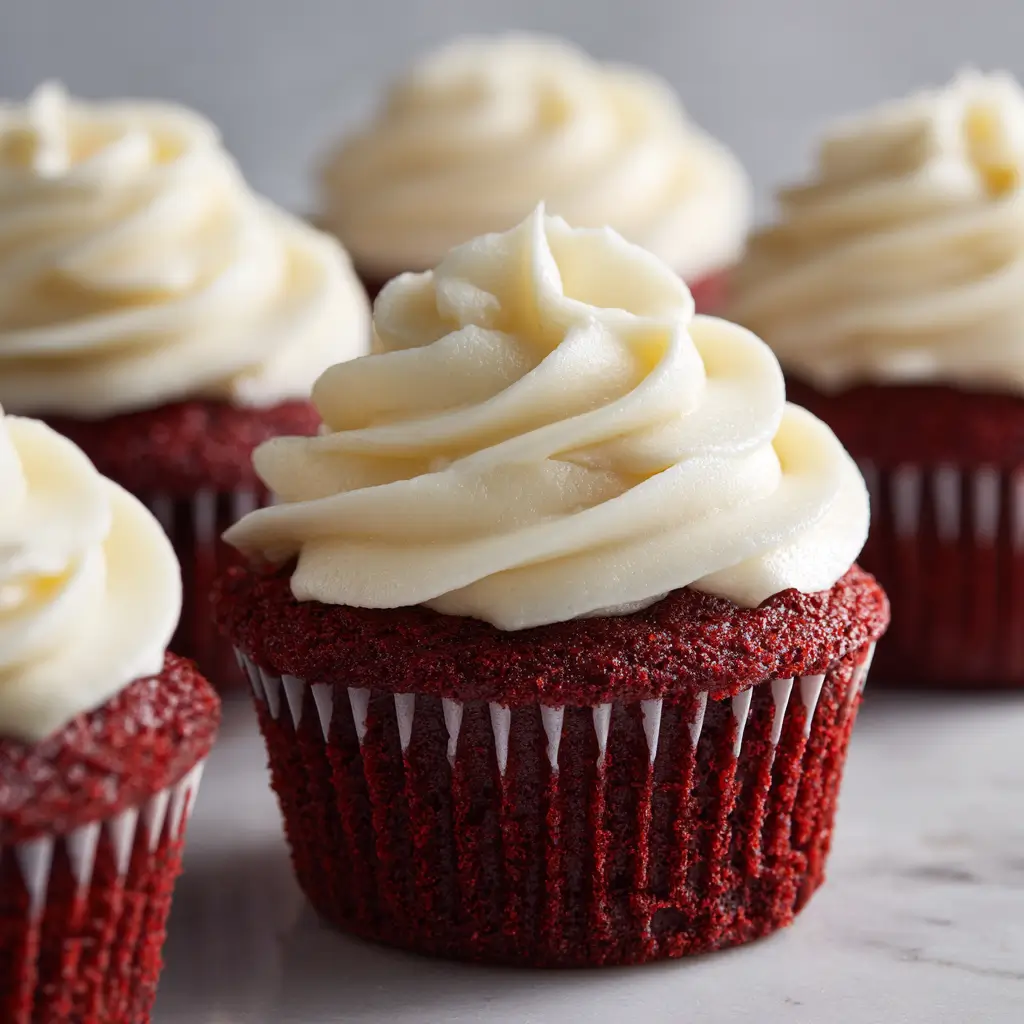
Red Velvet Cupcakes
Have you ever wondered what makes red velvet cupcakes so irresistibly popular? With their vibrant color and rich flavor, these treats have become a staple at celebrations and gatherings. According to recent surveys, nearly 60% of people prefer red velvet desserts over other flavors, making them a must-try for any baking enthusiast. In this post, we’ll explore the art of creating the perfect red velvet cupcakes, complete with tips, tricks, and variations that will impress your friends and family.
Ingredients List
To create these delectable red velvet cupcakes, you will need the following ingredients:
- 1 ½ cups all-purpose flour
- 1 cup granulated sugar
- 1 teaspoon baking soda
- 1 teaspoon cocoa powder
- ½ teaspoon salt
- 1 cup vegetable oil
- 1 cup buttermilk, room temperature
- 2 large eggs, room temperature
- 2 tablespoons red food coloring
- 1 teaspoon vanilla extract
- 1 teaspoon white vinegar
Substitution Suggestions
- Flour: For a gluten-free option, substitute with gluten-free all-purpose flour.
- Buttermilk: You can use plain yogurt or milk mixed with vinegar as an alternative.
- Vegetable Oil: Use melted coconut oil for a unique flavor.
Step-by-Step Instructions
Step 1: Preheat the Oven
- Preheat your oven to 350°F (175°C) and line a cupcake pan with paper liners.
Step 2: Combine Dry Ingredients
- In a medium bowl, whisk together the flour, sugar, baking soda, cocoa powder, and salt until well combined.
Step 3: Mix Wet Ingredients
- In a large mixing bowl, combine the vegetable oil, buttermilk, eggs, red food coloring, vanilla extract, and white vinegar. Mix until smooth.
Step 4: Combine Wet and Dry Mixtures
- Gradually add the dry ingredients to the wet mixture, stirring until just combined. Be careful not to overmix; a few lumps are okay.
Step 5: Fill the Cupcake Liners
- Using a scoop or spoon, fill each cupcake liner about two-thirds full with batter.
Step 6: Bake
- Bake in the preheated oven for 20-25 minutes or until a toothpick inserted into the center comes out clean.
Step 7: Cool
- Allow the cupcakes to cool in the pan for 5 minutes before transferring them to a wire rack to cool completely.

Nutritional Information
Here’s a comprehensive breakdown of the nutritional information for one red velvet cupcake (without frosting):
| Nutrient | Amount per Serving |
|---|---|
| Calories | 210 |
| Protein | 2g |
| Total Fat | 10g |
| Carbohydrates | 30g |
| Sugar | 18g |
| Fiber | 0g |
Healthier Alternatives for the Recipe
To make your red velvet cupcakes healthier without sacrificing flavor, consider these modifications:
- Reduce Sugar: Cut down the sugar by 25% or use a natural sweetener like honey or maple syrup.
- Whole Wheat Flour: Substitute half of the all-purpose flour with whole wheat flour for added fiber.
- Frosting Alternatives: Instead of traditional cream cheese frosting, top with Greek yogurt mixed with a touch of honey for a lighter option.
Serving Suggestions
These red velvet cupcakes are perfect for various occasions. Here are some creative serving suggestions:
- Frosting: Classic cream cheese frosting is a must, but you can also try chocolate ganache or whipped cream for a twist.
- Toppings: Garnish with fresh berries or edible flowers for an elegant touch.
- Presentation: Serve on a decorative cake stand for a stunning display at parties or gatherings.
Common Mistakes to Avoid
To ensure your red velvet cupcakes turn out perfectly, here are some common pitfalls to avoid:
- Overmixing the Batter: This can lead to dense cupcakes. Mix just until the ingredients are combined.
- Skipping the Buttermilk: Buttermilk adds moisture and tanginess; don’t substitute it with regular milk without adding vinegar.
- Not Measuring Ingredients Accurately: Use measuring cups and spoons for precision; baking is a science!
Storing Tips for the Recipe
To keep your red velvet cupcakes fresh, follow these storage tips:
- Room Temperature: Store unfrosted cupcakes in an airtight container at room temperature for up to 3 days.
- Refrigeration: If frosted, keep them in the refrigerator for up to a week. Allow them to come to room temperature before serving for the best flavor.
- Freezing: Freeze unfrosted cupcakes in an airtight container for up to 3 months. Thaw in the refrigerator before frosting.
Conclusion
In summary, these red velvet cupcakes are a delightful treat that combines rich flavor with stunning visuals. Perfect for any celebration, they are easy to make and customizable to suit various dietary needs. Try this recipe today, share your feedback in the comments, and subscribe for more delicious updates!
FAQs
1. Can I make these cupcakes ahead of time?
Yes, you can bake the cupcakes a day in advance. Store them unfrosted at room temperature.
2. What if I don’t have red food coloring?
You can use beet juice as a natural alternative, but it may alter the flavor slightly.
3. Can I use this recipe for a cake instead of cupcakes?
Absolutely! Just pour the batter into a greased cake pan and adjust the baking time to about 30-35 minutes.

Red Velvet Cupcakes
Ingredients
- 1 ½ cups all-purpose flour
- 1 cup granulated sugar
- 1 teaspoon baking soda
- 1 teaspoon cocoa powder
- ½ teaspoon salt
- 1 cup vegetable oil
- 1 cup buttermilk, room temperature
- 2 large eggs, room temperature
- 2 tablespoons red food coloring
- 1 teaspoon vanilla extract
- 1 teaspoon white vinegar
Instructions
Step 1: Preheat the Oven
- Preheat your oven to 350°F (175°C) and line a cupcake pan with paper liners.
Step 2: Combine Dry Ingredients
- In a medium bowl, whisk together the flour, sugar, baking soda, cocoa powder, and salt until well combined.
Step 3: Mix Wet Ingredients
- In a large mixing bowl, combine the vegetable oil, buttermilk, eggs, red food coloring, vanilla extract, and white vinegar. Mix until smooth.
Step 4: Combine Wet and Dry Mixtures
- Gradually add the dry ingredients to the wet mixture, stirring until just combined. Be careful not to overmix; a few lumps are okay.
Step 5: Fill the Cupcake Liners
- Using a scoop or spoon, fill each cupcake liner about two-thirds full with batter.
Step 6: Bake
- Bake in the preheated oven for 20-25 minutes or until a toothpick inserted into the center comes out clean.
Step 7: Cool
- Allow the cupcakes to cool in the pan for 5 minutes before transferring them to a wire rack to cool completely.